[스프링부트 JPA 활용] View 환경 설정
[스프링부트 JPA 활용] View 환경 설정
View 환경 설정
Thymeleaf#
Spring에서도 밀고 있고, 스프링과 많은 기능을 제공하고 있어, Jsp 보다 Thymeleaf를 사용하는 추세입니다.
장점은
자연 템플릿 (Natural Templates)
마크업을 깨트리지 않고 html 마커 안에 프로그래밍 문법을 넣어 기능을 개발 할 수 있습니다. WAS 없이도 브라우저만으로도 템플릿의 결과물을 볼 수 있습니다.
<table>
  <thead>
    <tr>
      <th th:text="#{msgs.headers.name}">Name</th>
      <th th:text="#{msgs.headers.price}">Price</th>
    </tr>
  </thead>
  <tbody>
    <tr th:each="prod: ${allProducts}">
      <td th:text="${prod.name}">Oranges</td>
      <td th:text="${#numbers.formatDecimal(prod.price, 1, 2)}">0.99</td>
    </tr>
  </tbody>
</table>
단점은 마크업을
이런식으로 정확하게 닫아줘야 인식 하는 문제가 있었지만, 3.0에서는 개선되어
로 사용가능합니다.
또 기존 JSP 문법과 다르기 때문에 메뉴얼을 참조해 사용해야합니다.
최근에는 서버 사이드 뷰 템플릿 보다 리액트나 뷰js 등 좋은 프론트엔드 프레임워크가 있기 때문에 그쪽을 더 많이 사용합니다.
스프링부트 thymeleaf viewName 매핑#
resuources:templates/[viewName].html 기본적으로 스프링부트가 리소스 템플릿즈 밑에 뷰 이름으로 매핑을 합니다.
build.gradle
	...
dependencies {
	implementation 'org.springframework.boot:spring-boot-starter-data-jpa'
	implementation 'org.springframework.boot:spring-boot-starter-thymeleaf' /* 해당 디펜던시 있으면 사용가능 */
	implementation 'org.springframework.boot:spring-boot-starter-web'
	compileOnly 'org.projectlombok:lombok'
	runtimeOnly 'com.h2database:h2'
	annotationProcessor 'org.projectlombok:lombok'
	testImplementation 'org.springframework.boot:spring-boot-starter-test'
}
	...
Tymeleaf 서버사이드 랜더링#
Controller 생성
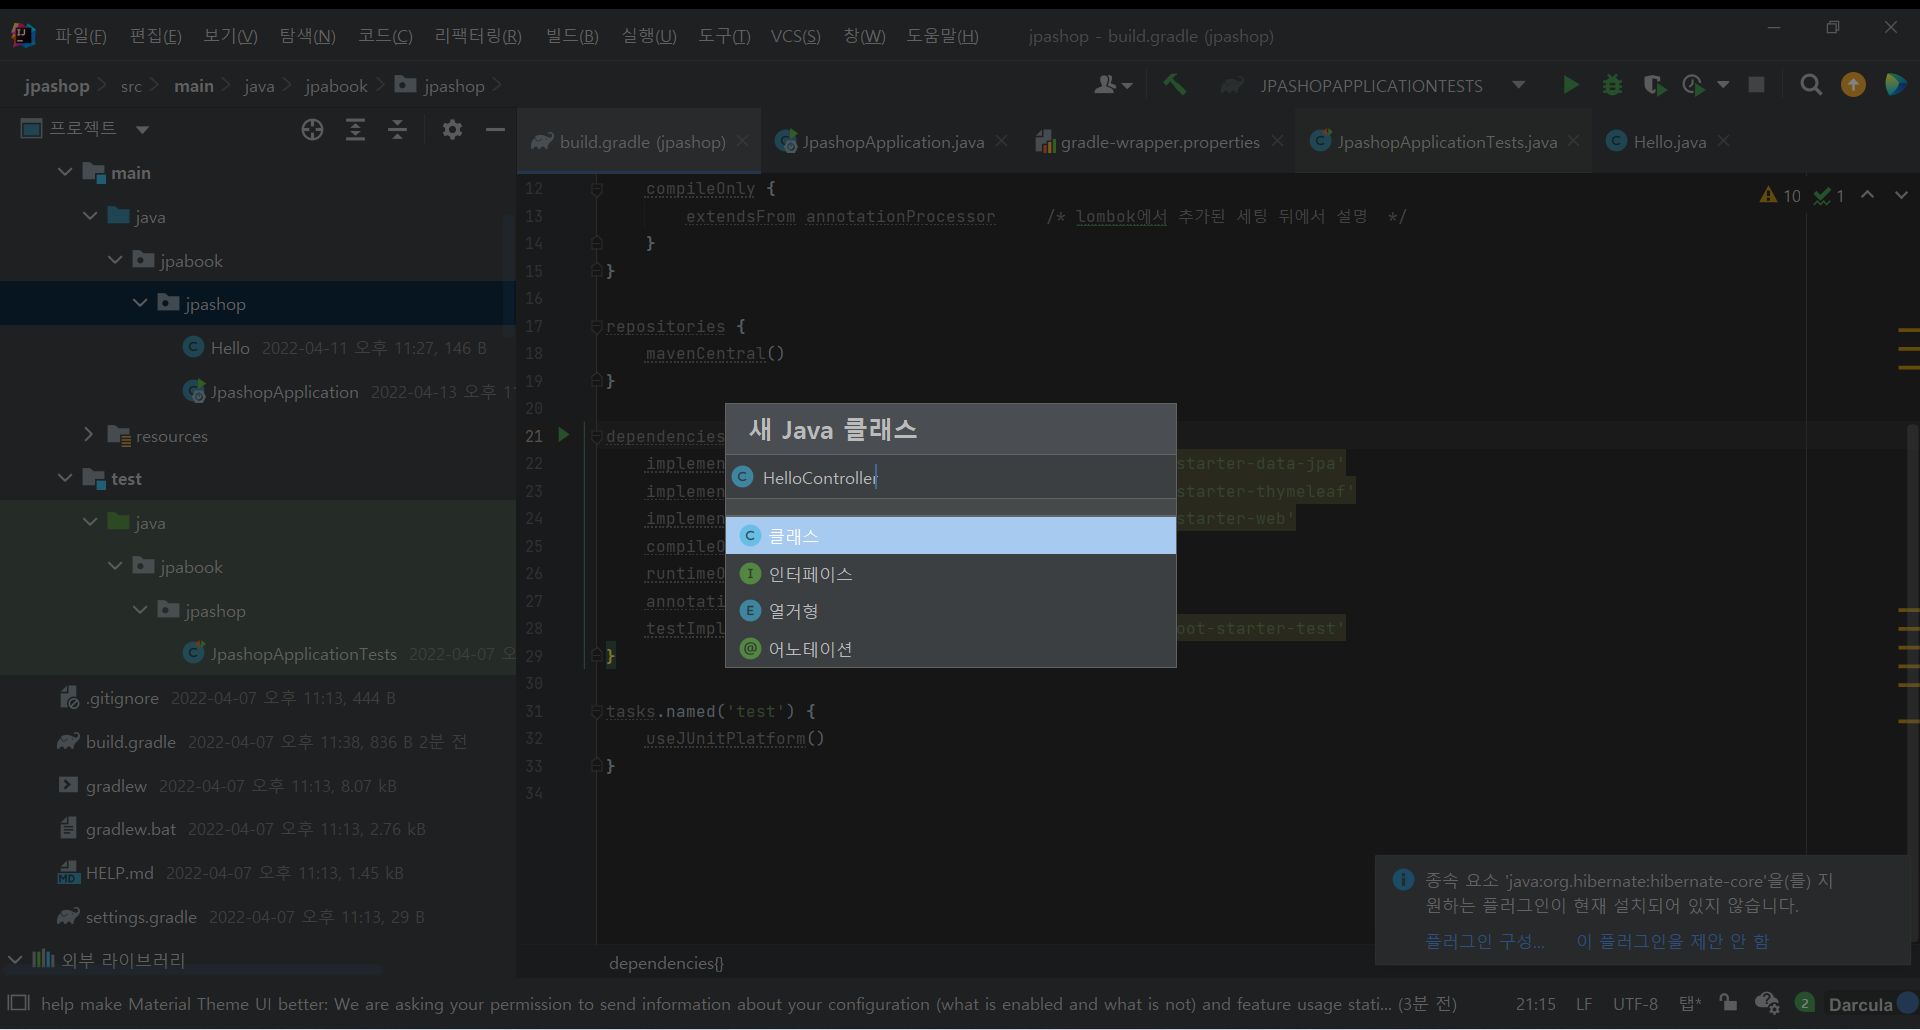
HelloController.java
package jpabook.jpashop;

import org.springframework.stereotype.Controller;
import org.springframework.ui.Model;
import org.springframework.web.bind.annotation.GetMapping;

@Controller
public class HelloController {

    @GetMapping("hello") // hello 라는 응답을 받으면
    public String hello(Model model){

        model.addAttribute("data", "hello !!"); // addAttribute data의 값에 "hello !!" 를 넣어서

        return "hello"; /* view 라는 페이지를 오픈*/
    }
}
view 파일 생성
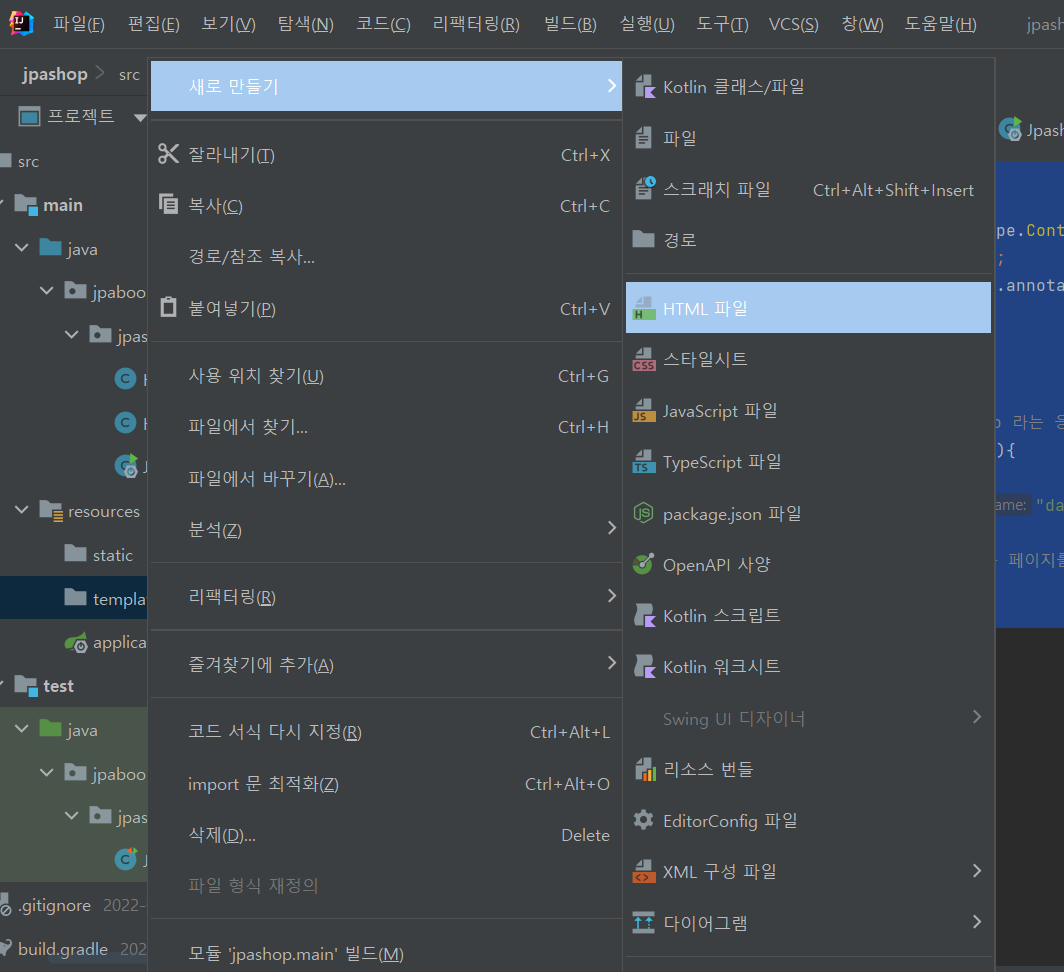
resources >templates 우크릭 “hello.html” 생성
hello.html
<!DOCTYPE html>
<html xmlns:th="http://www.thymeleaf.org"> <!-- html에 thymeleaf url 추가 -->
<head>
    <title>Hello</title>
    <meta  http-equiv="content-type" content="text/html; charset=UTF-8">
</head>
<body>
    <p th:text="'안녕하세요. ' + ${data}"> 안녕하세요. 손님</p>
</body>
</html>
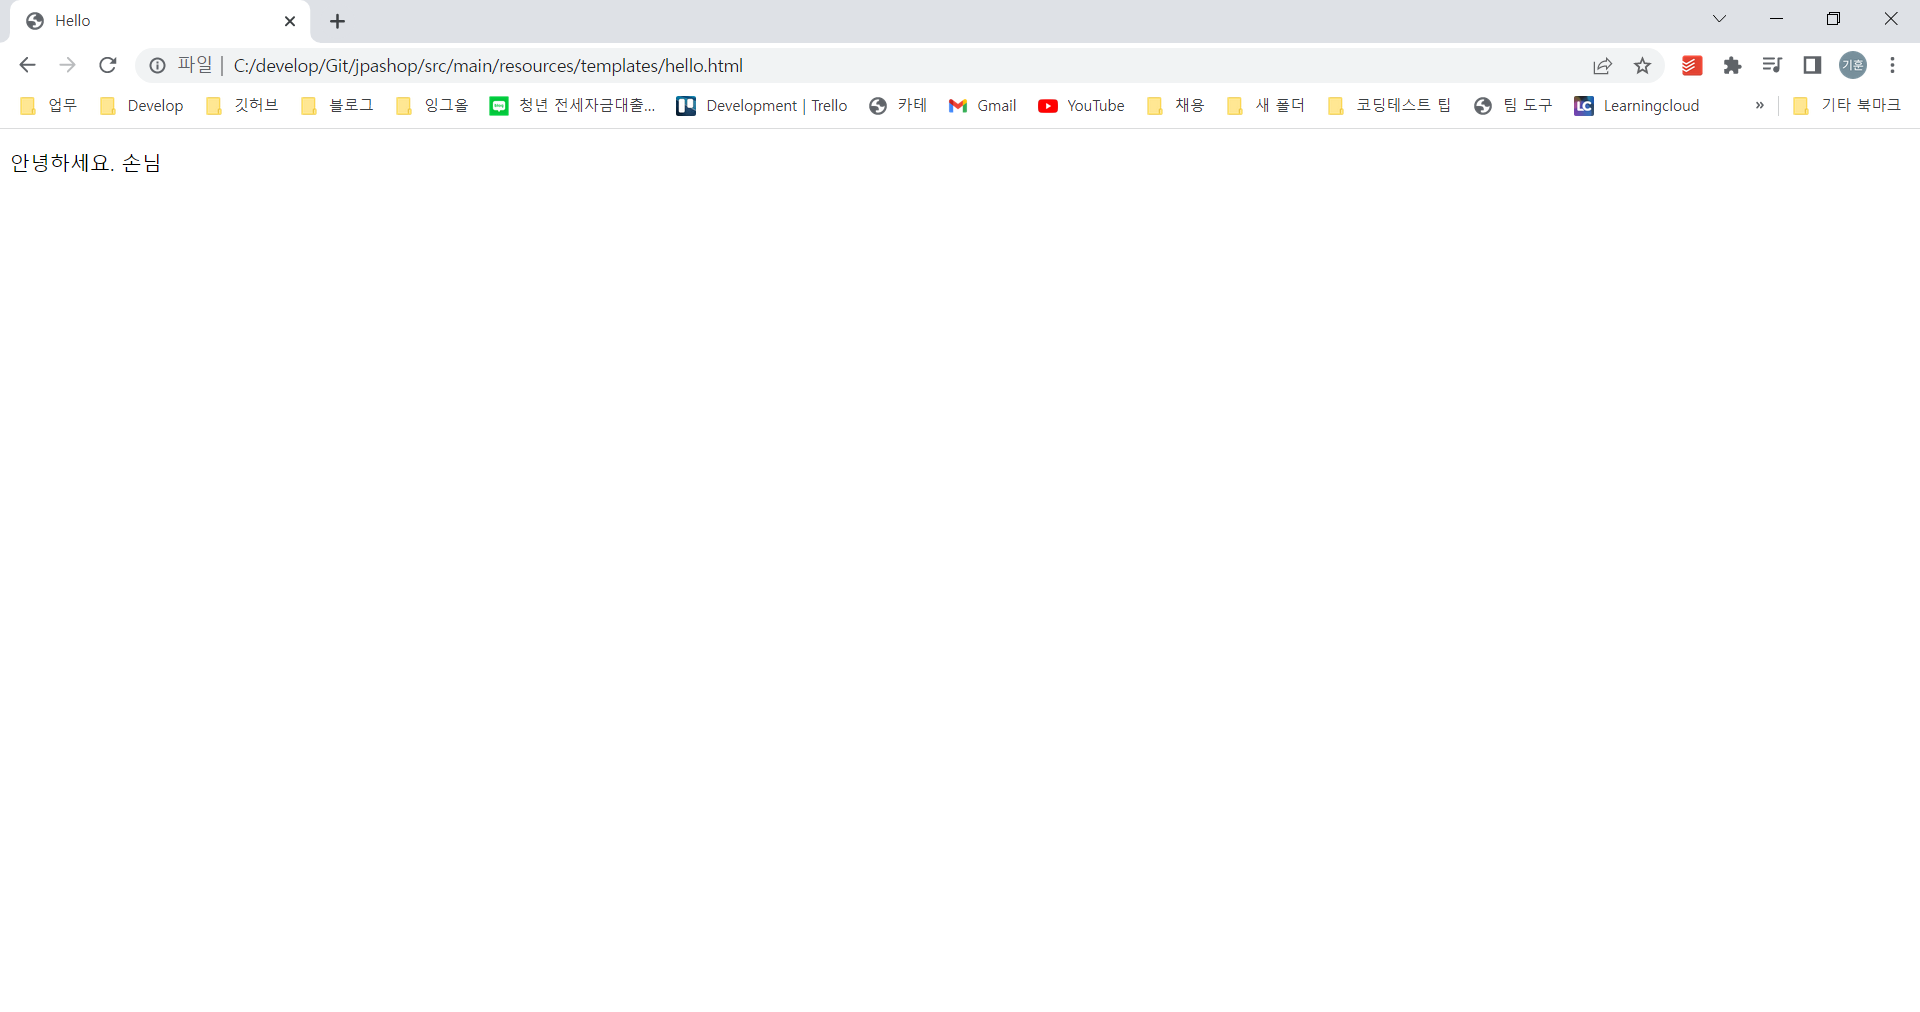
해당 파일 경로에서 html을 열어보면 작성한 그대로 실행 되는 것을 확인 할 수 있습니다.
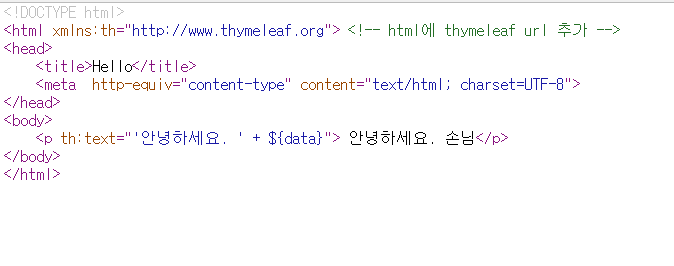
페이지 소스보기를 하면 thymeleaf의 문법을 추가한 소스도 볼 수 있습니다.
JpashopApplication.java - 애플리케이션 실행
console
  .   ____          _            __ _ _
 /\\ / ___'_ __ _ _(_)_ __  __ _ \ \ \ \
( ( )\___ | '_ | '_| | '_ \/ _` | \ \ \ \
 \\/  ___)| |_)| | | | | || (_| |  ) ) ) )
  '  |____| .__|_| |_|_| |_\__, | / / / /
 =========|_|==============|___/=/_/_/_/
 :: Spring Boot ::                (v2.6.6)
http://localhost:8080/hello 로 애플리케이션 호출
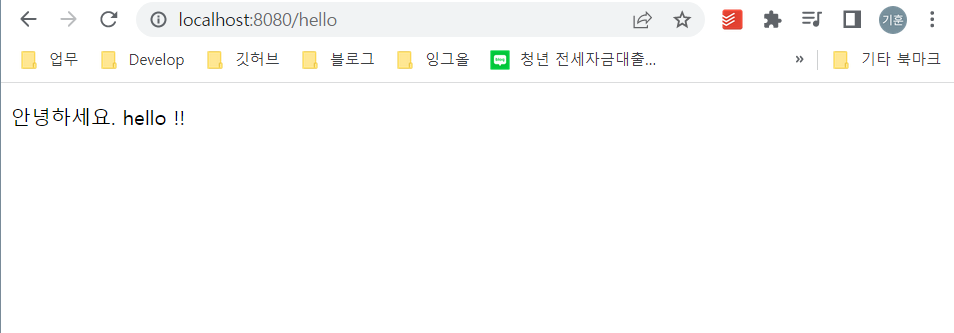
정상적으로 애플리케이션이 화면을 “안녕하세요. hello !!“로 랜더링 하는것을 확인 할 수 있습니다.
Tymeleaf 정적(Static) 페이지 생성#
resources > static > index.html 생성
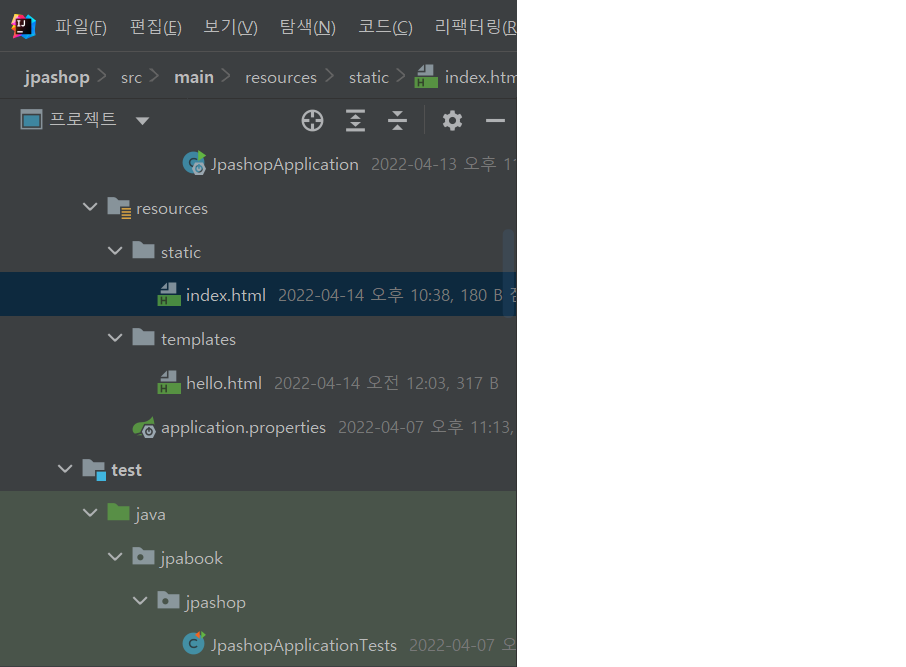
<!DOCTYPE html>
<html lang="en">
<head>
    <meta charset="UTF-8">
    <title>Title</title>
</head>
<body>

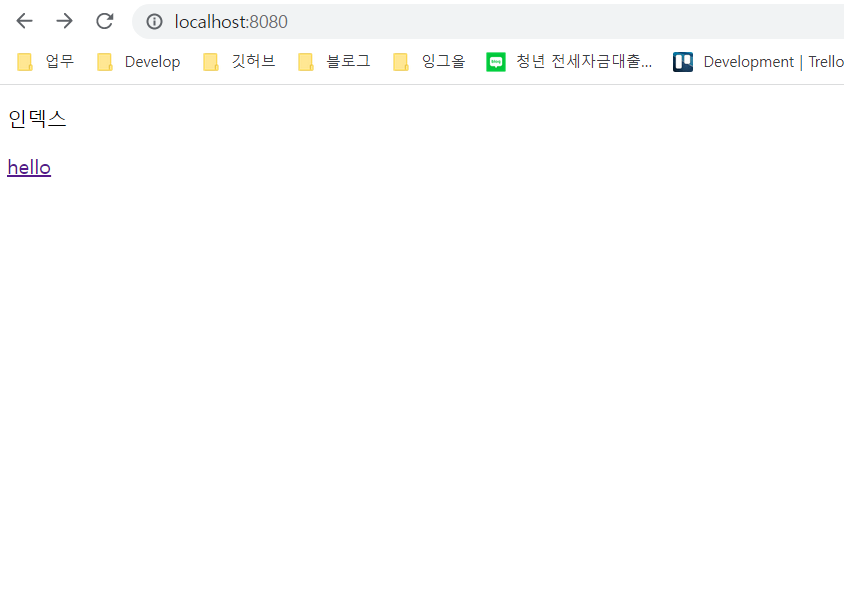
<p>인덱스</p>
<a href="/hello">hello</a>

</body>
</html>
thymeleaf 수정시 자동 리로드 되도록 설정하기#
서버사이드 뷰 템플릿을 사용하다 보면 간단 텍스트 수정을 하여도 적용을 하기 위해서는 서버를 재기동 해야하는 불편함이 있습니다.
이러한 불편함을 해결하기 위해서 필요한 라이브러리가 있습니다.
build.gradle
...
dependencies {
	...
	developmentOnly("org.springframework.boot:spring-boot-devtools")
	...
}
...
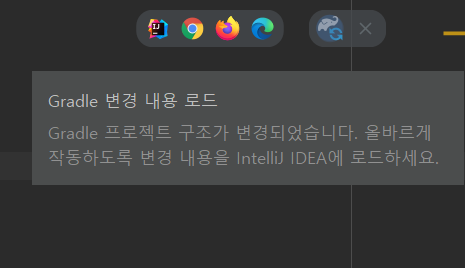
dependency 추가후 gradle 리로딩
이 라이브러리가 개발할때 많은 도와주는 기능을 하는데, 캐시 같은 것들을 제거하고 리로딩이 되게 지원을 합니다.
Controller에서 return 하는 viewName을 트리거로 서버가 리로딩 되지만, thymeleaf의 화면이 수정되었을때 리로딩되는 것을 원하기 때문에 좀더 찾아보았습니다.
resources/application.properties
spring.devtools.restart.enabled=true
spring.devtools.restart.poll-interval=2s
spring.devtools.restart.quiet-period=1s
spring.thymeleaf.cache=false
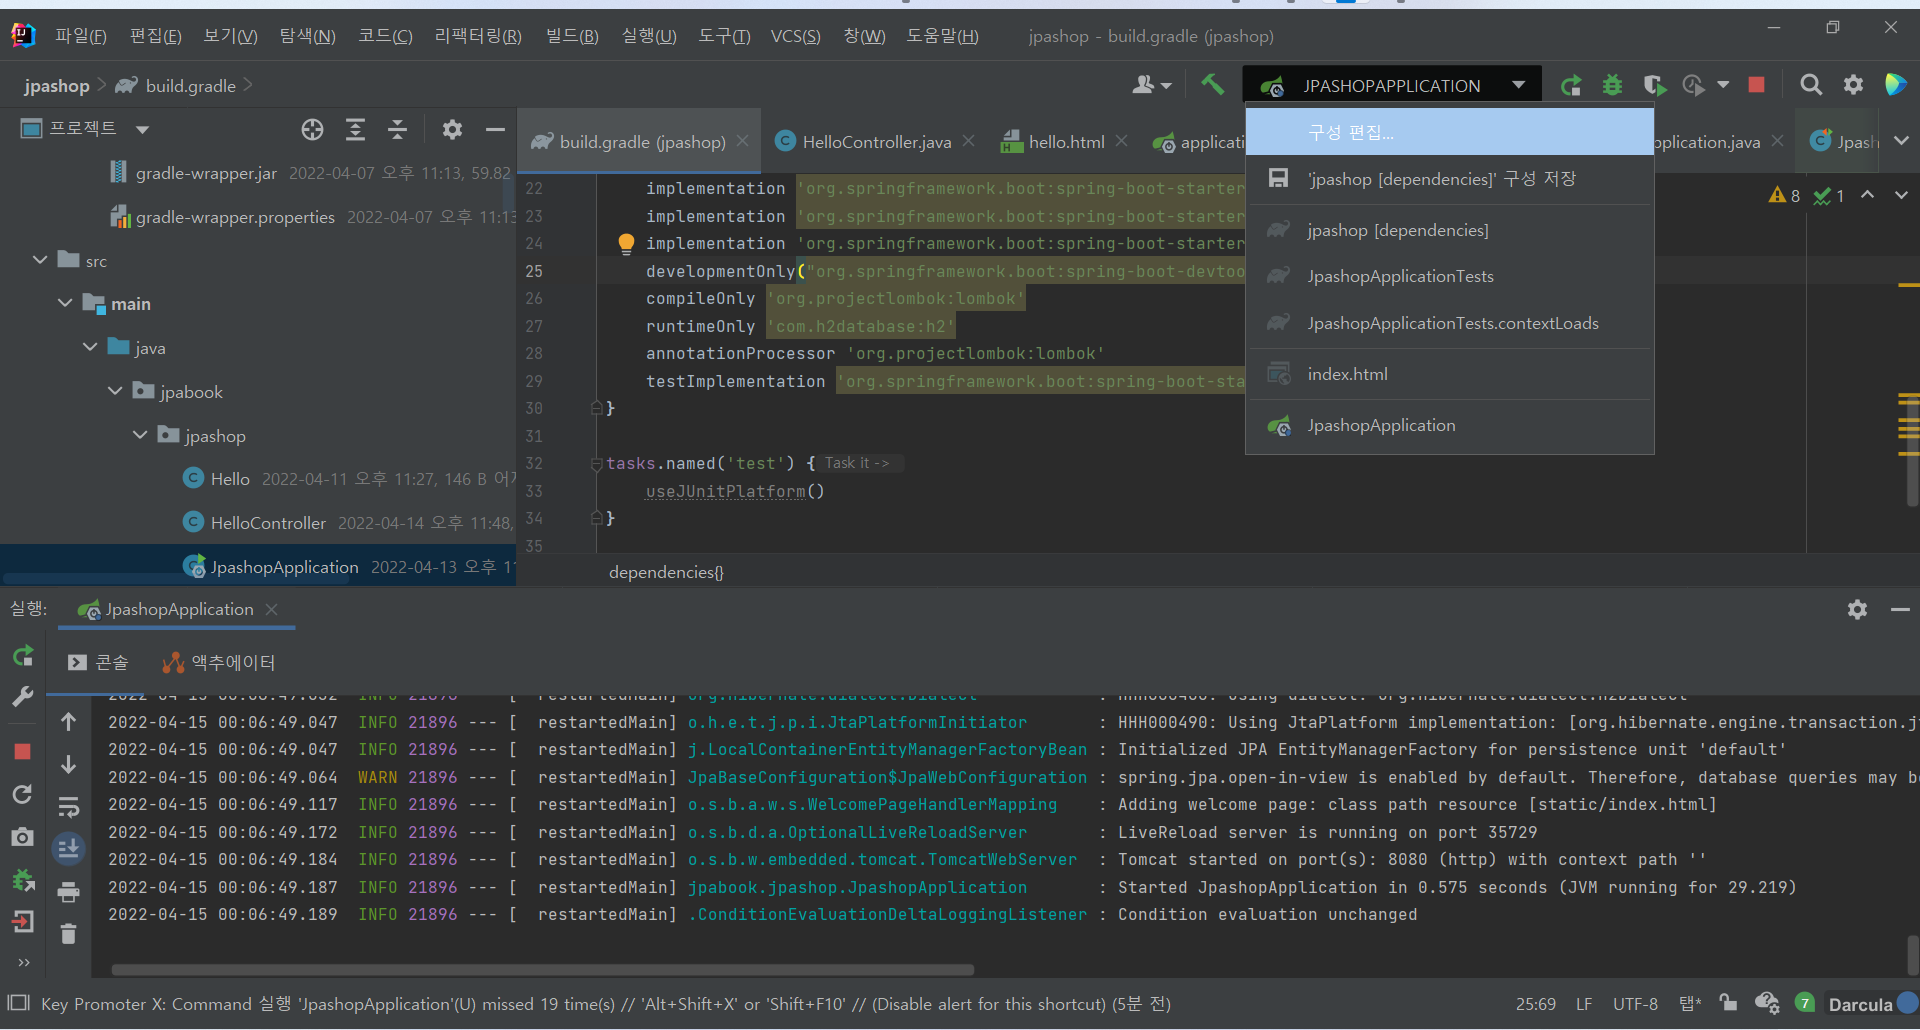

애플리케이션 업데이트 정책 실행 중 옵션을 통해 thymeleaf 수정 시 서버가 리로드 되는 것을 사용할 수 있었습니다.
현재 IDEA Ultimate 사용중이라 Community도 가능한지는 확인하지 못했습니다.