SpringBoot를 이용한 RESTful API
SpringBoot를 이용한 RESTful API
SpringBoot를 이용한 RESTful API

SpringBoot#
스프링 프레임워크 기반 프로젝트를 복잡한 설정없이 쉽고 빠르게 만들어주는 라이브러리입니다. 사용자가 일일이 모든 설정을 하지 않아도 자주 사용되는 기본설정을 알아서 해줍니다.
Spring Boot 장점
- 라이브러리 관리의 자동화
- 라이브러리 버전 자동 관리
- 설정의 자동화
- 내장 Tomcat
- 독립적으로 실행 가능한 JAR
간단한 RESTful API 생성#
Spring Starter Project로 프로젝트 생성#
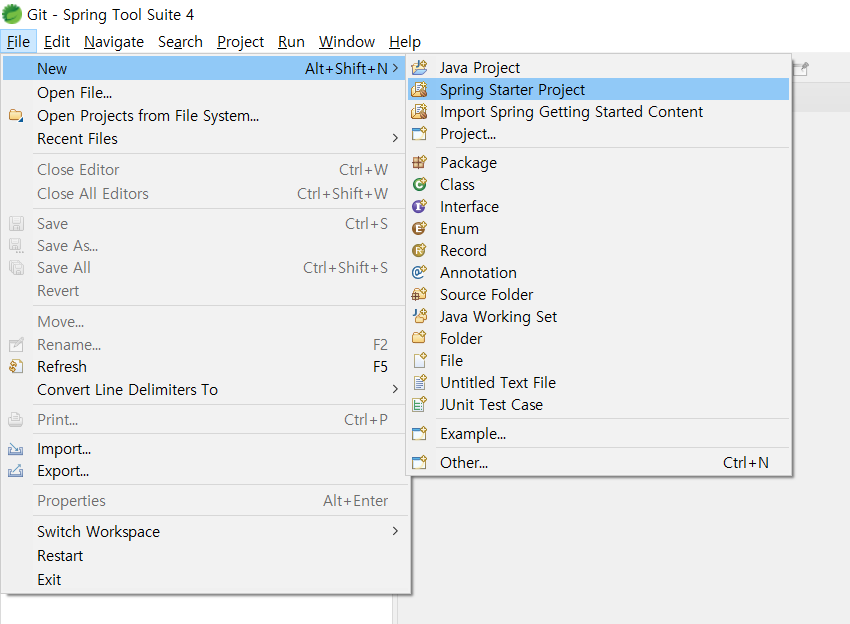
스프링STS4를 실행 하고, file > new > Spring Starter Project를 선택
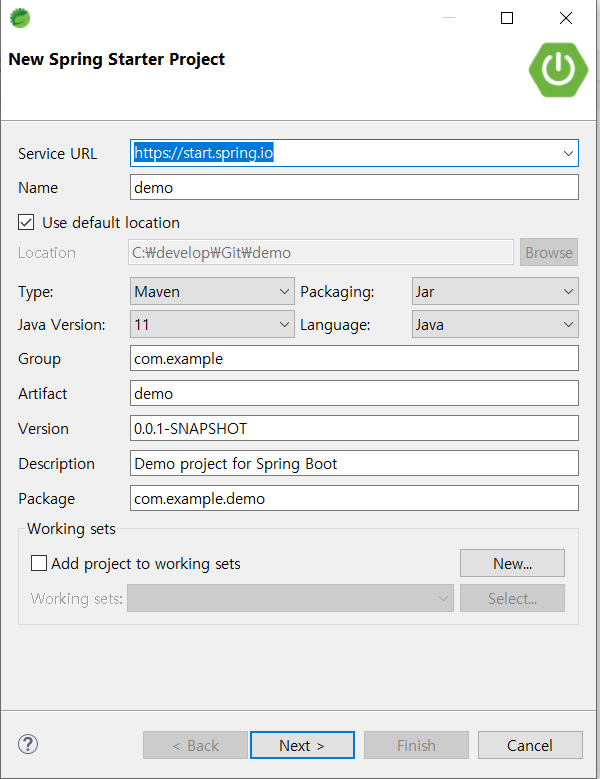
서비스에 대한 설정을 할 수 있는 화면이 나오며 Demo라는 프로젝트명 그대로 ‘next’ 진행
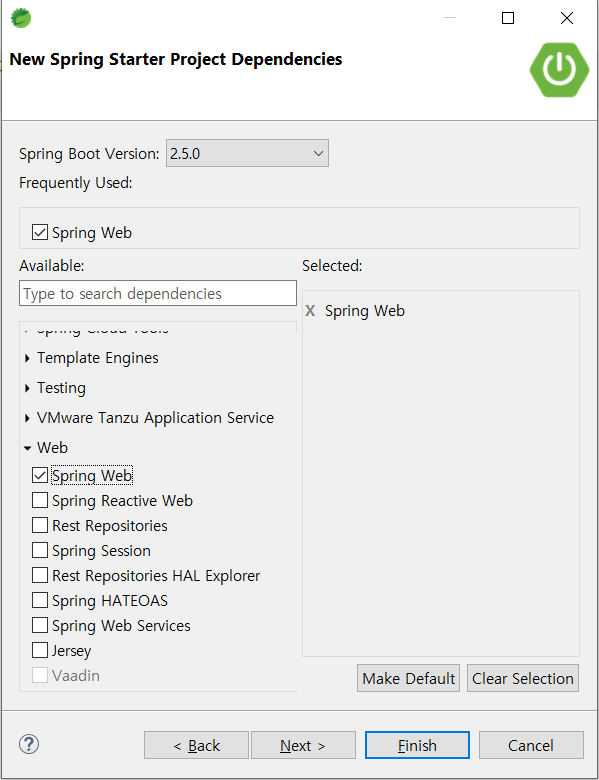
Spring Starter 구성 시 추가할 web > Spring Web Dependency를 추가
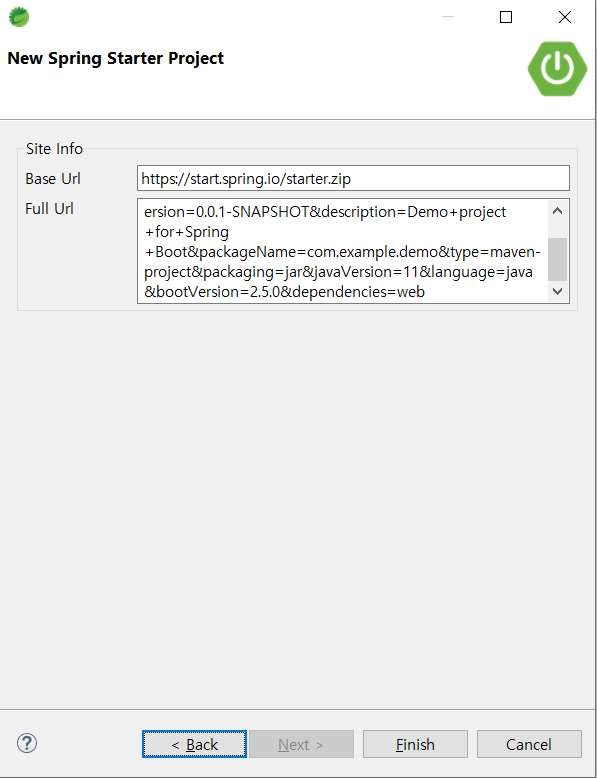
next를 눌러 진행하면, 스프링스타터의 서비스를 이용해서 방금전 입력한 항목들을 이용해 템플릿을 만들어 달라고 요청할 URL이며 URL을 호출하여, ZIP파일 형태로도 제공 받을수 있습니다. finish를 눌러 마무리합니다.
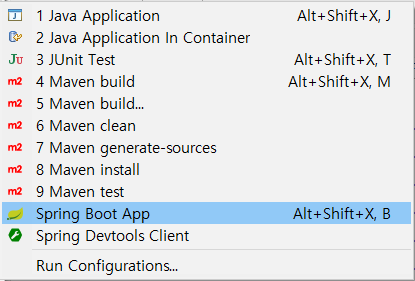
프로젝트 우클릭 > Run as > Spring Boot App을 눌러 실행

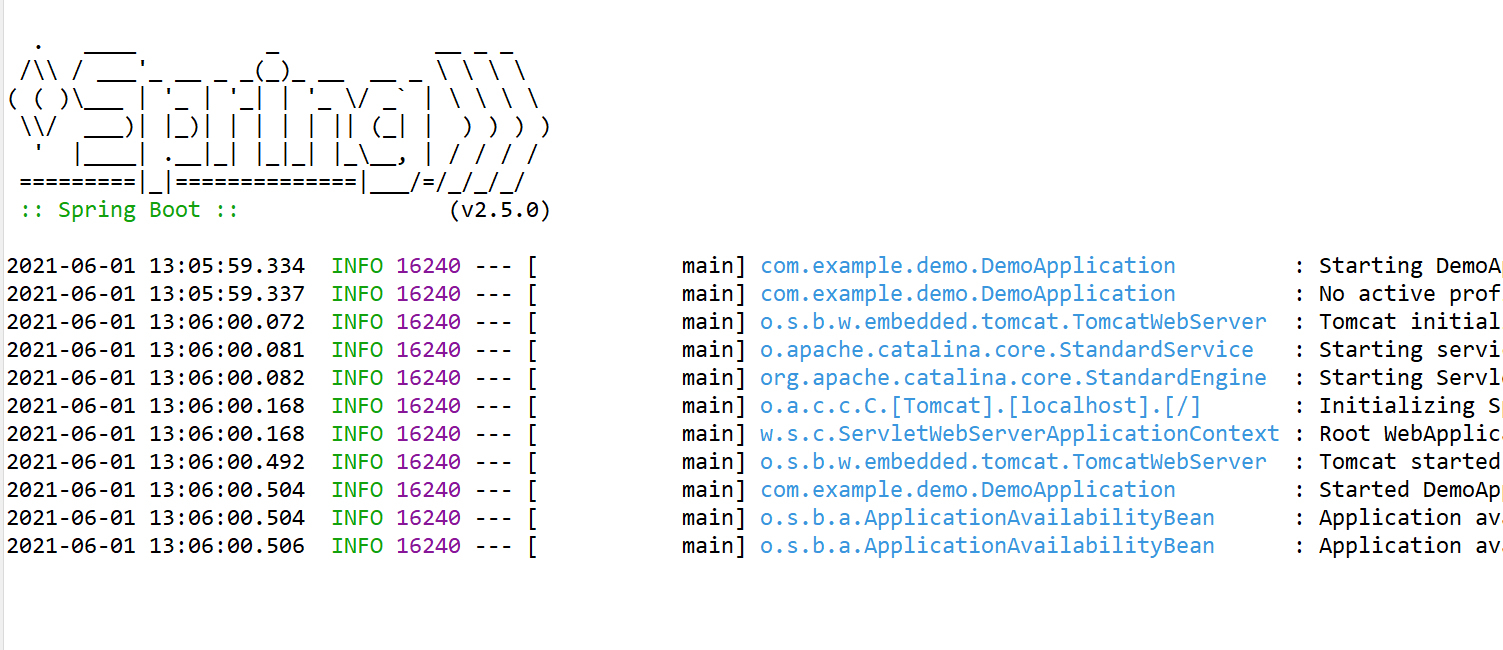
콘솔창으로 정상적으로 서비스가 올라가는 것을 볼 수 있습니다.
서비스될 Port가 :8080으로 설정된 것도 확인 가능합니다.
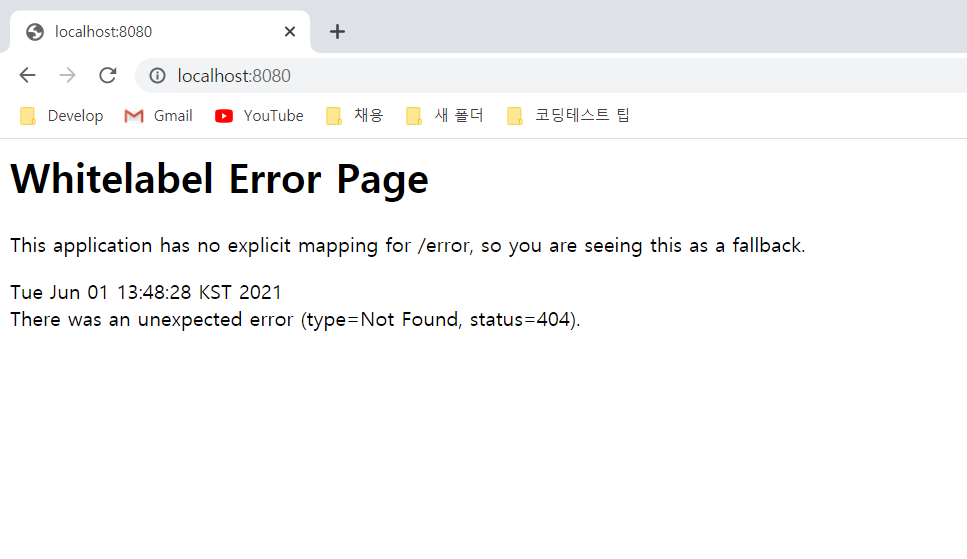
http://localhost:8080/ 로 접속해 보면 매핑되는 URI가 없기 때문에 오류 페이지대신 Whitelabel Error Page 페이지가 보이게 됩니다.
RESTful API 작성#
Model - UserProfile.java 생성#
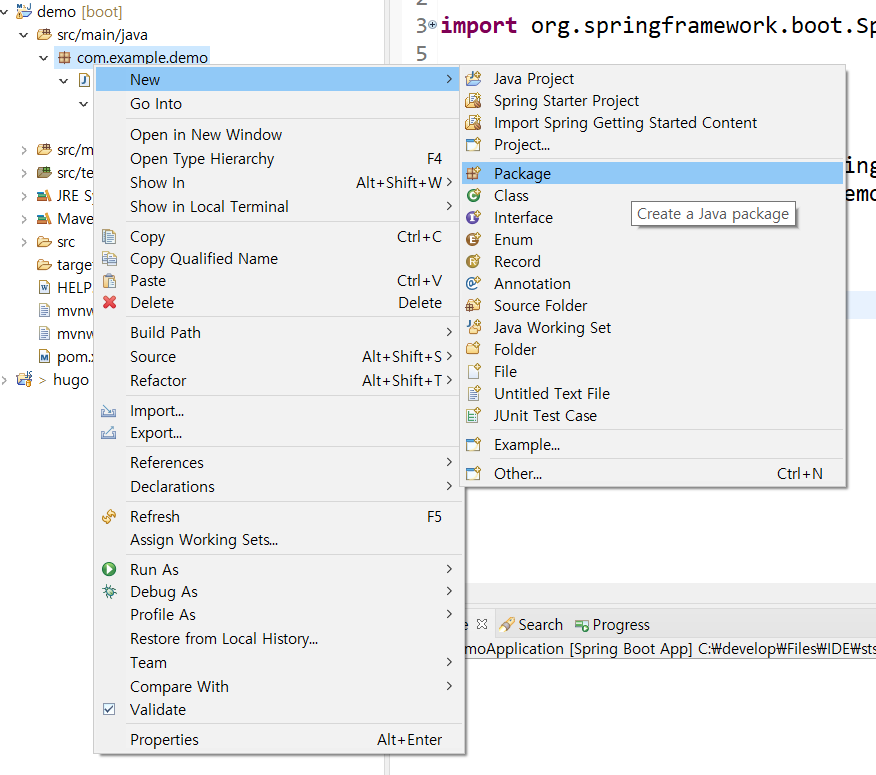
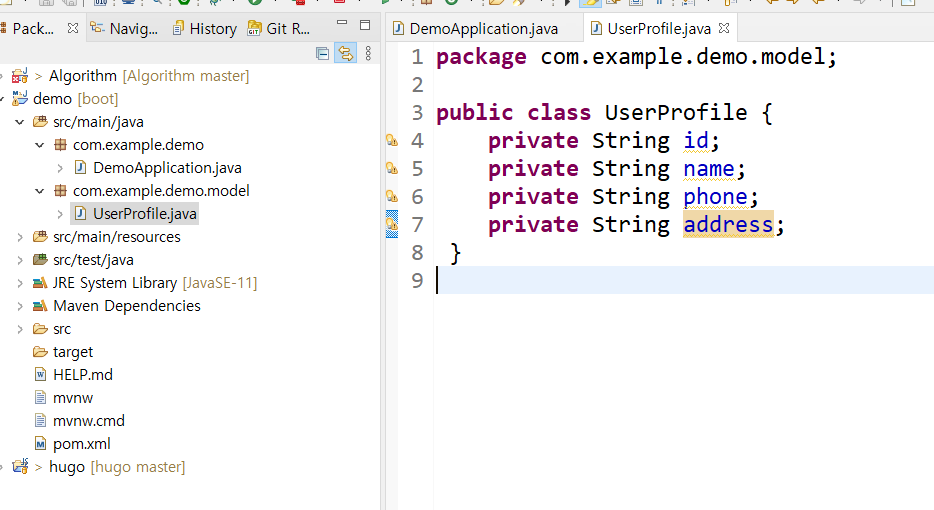
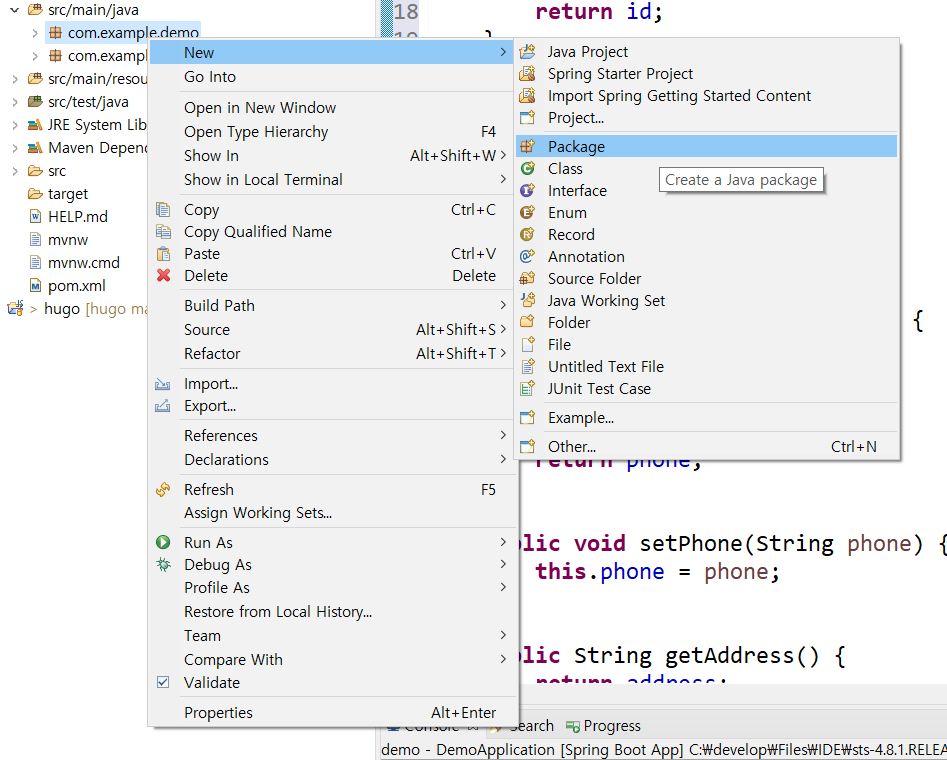
com.example.demo 밑에 com.example.demo.model 패키지를 생성하고 그 안에 UserProfile이라는 VO 객체(Value Obeject)를 생성
String 형의 id, name, phone, address를 Private로 추가
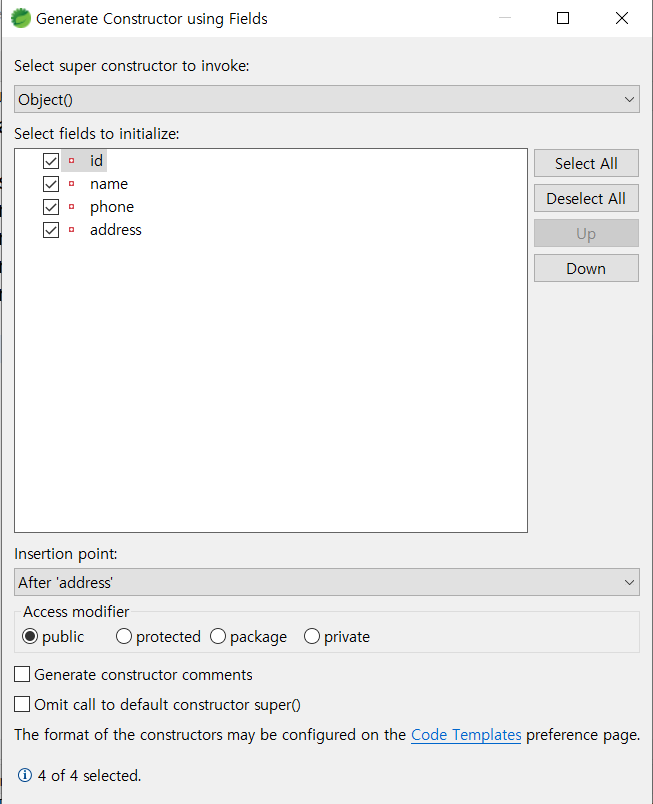
생성자는 에디터 우클릭 > source > generate constructor using fields 를 사용하여 자동 생성
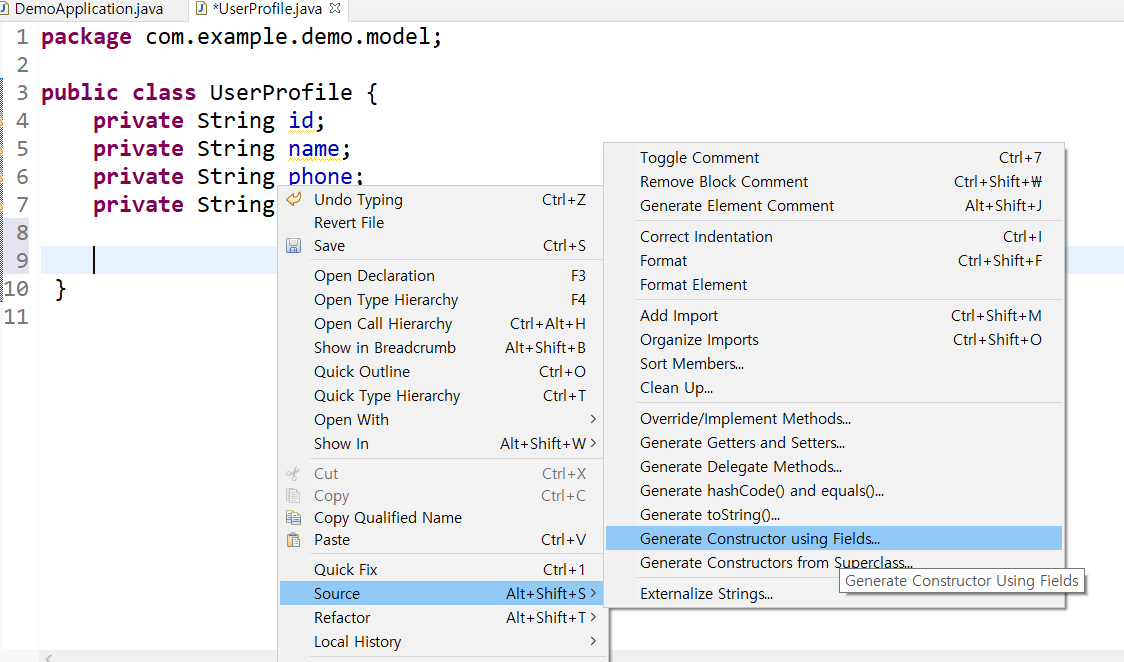
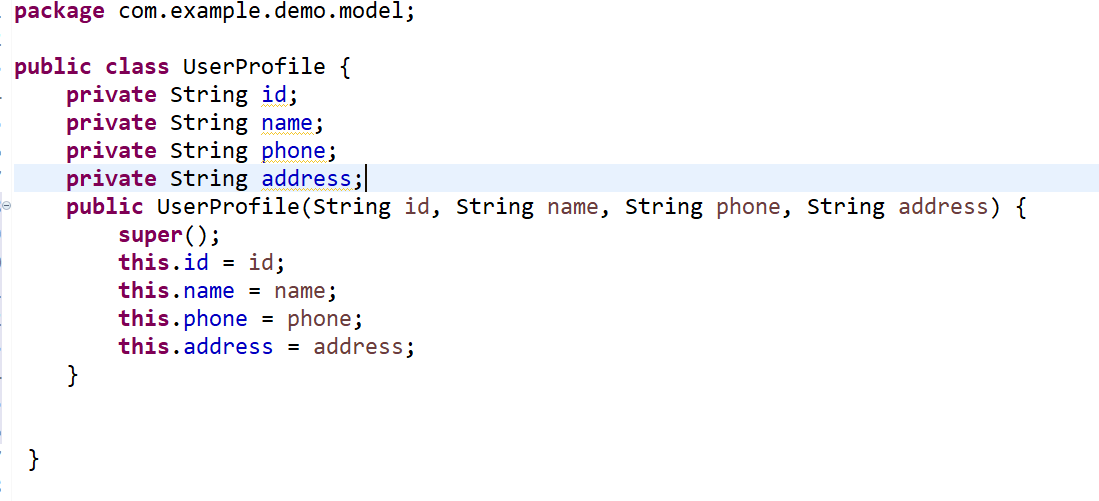
소스에 생성자가 추가된 것을 확인
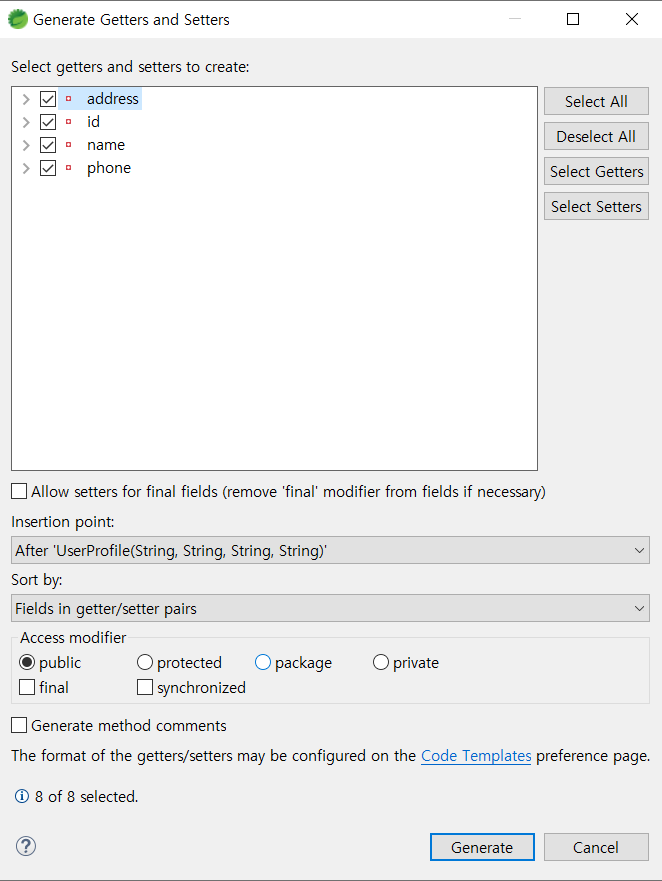
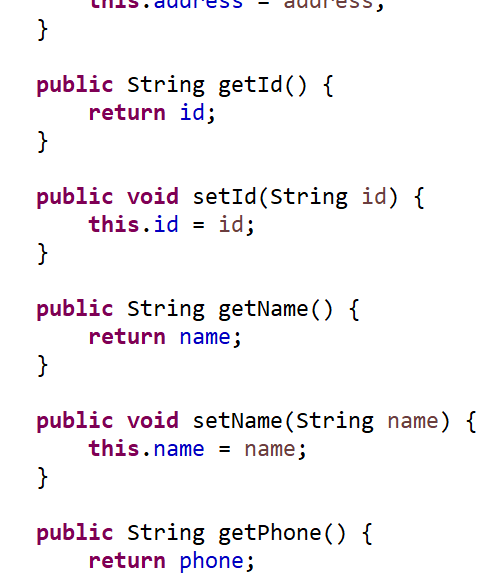
private로 생성된 field들에 접근하기 위하여, getter와 setter 또한 generator를 이용하여 생성
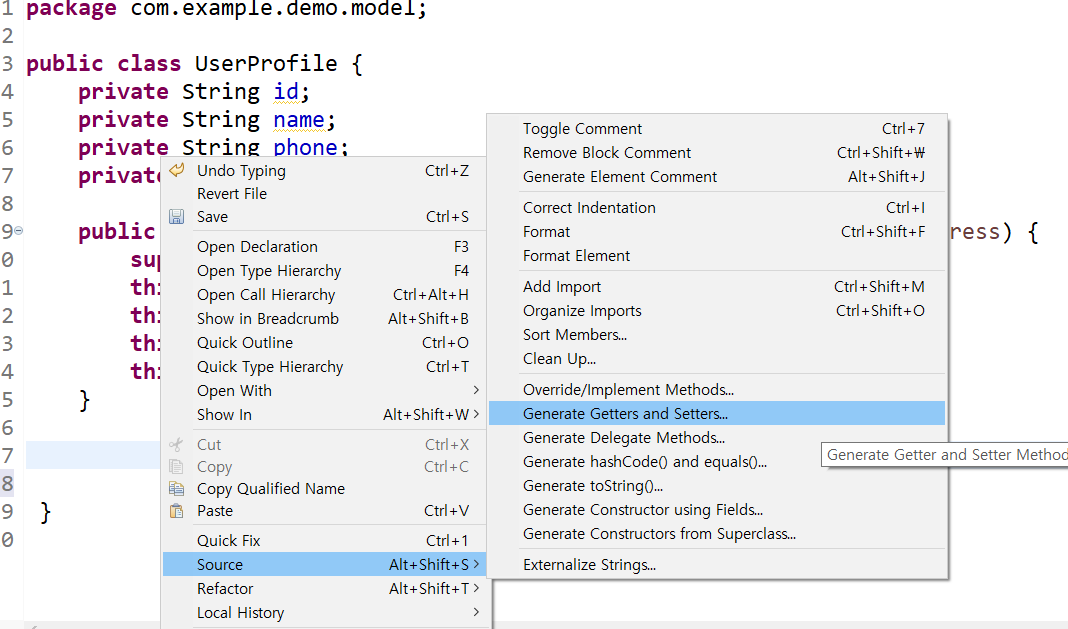
소스에 getter, setter가 추가된 것을 확인
package com.example.demo.model;

public class UserProfile {
	private String id;
	private String name;
	private String phone;
	private String address;

	public UserProfile(String id, String name, String phone, String address) {
		super();
		this.id = id;
		this.name = name;
		this.phone = phone;
		this.address = address;
	}

	public String getId() {
		return id;
	}

	public void setId(String id) {
		this.id = id;
	}

	public String getName() {
		return name;
	}

	public void setName(String name) {
		this.name = name;
	}

	public String getPhone() {
		return phone;
	}

	public void setPhone(String phone) {
		this.phone = phone;
	}

	public String getAddress() {
		return address;
	}

	public void setAddress(String address) {
		this.address = address;
	}

 }
Controller - UserProfileController.java 생성#
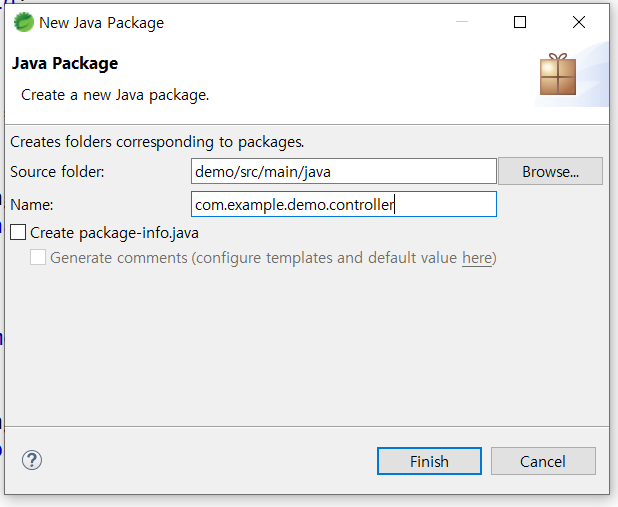
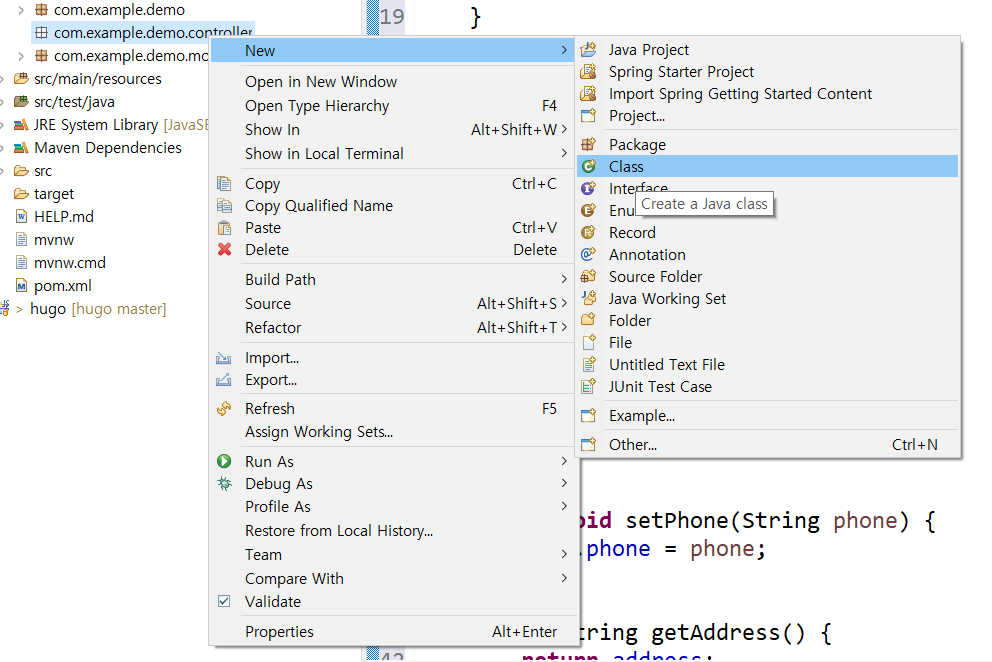
Spring에서 컨트롤러를 지정해주기 위한 어노테이션은 @Controller와 @RestController가 있습니다. 하지만 여기서는 @RestController를 추가합니다.
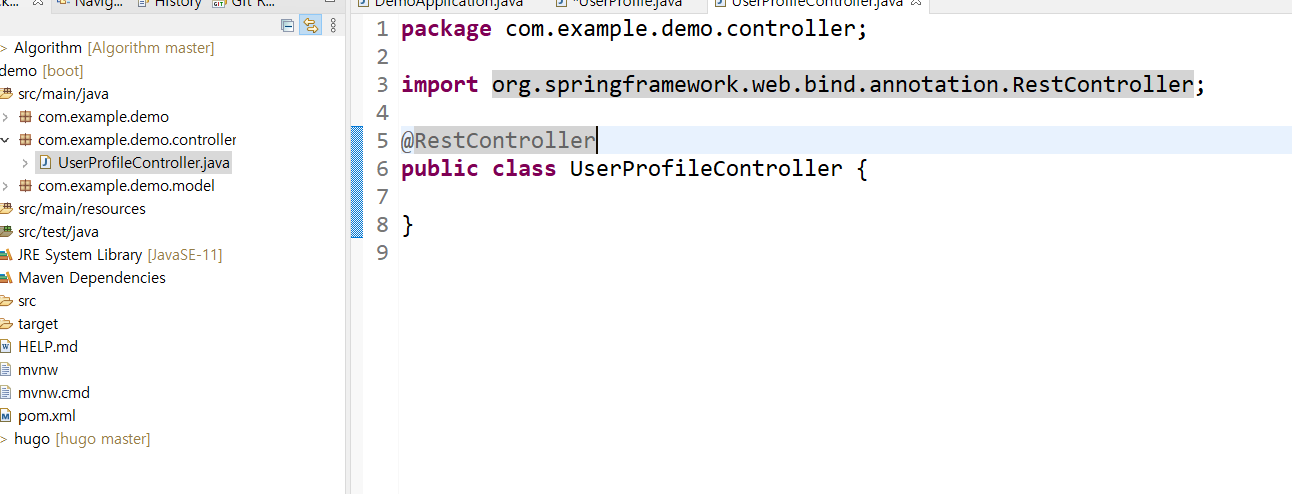
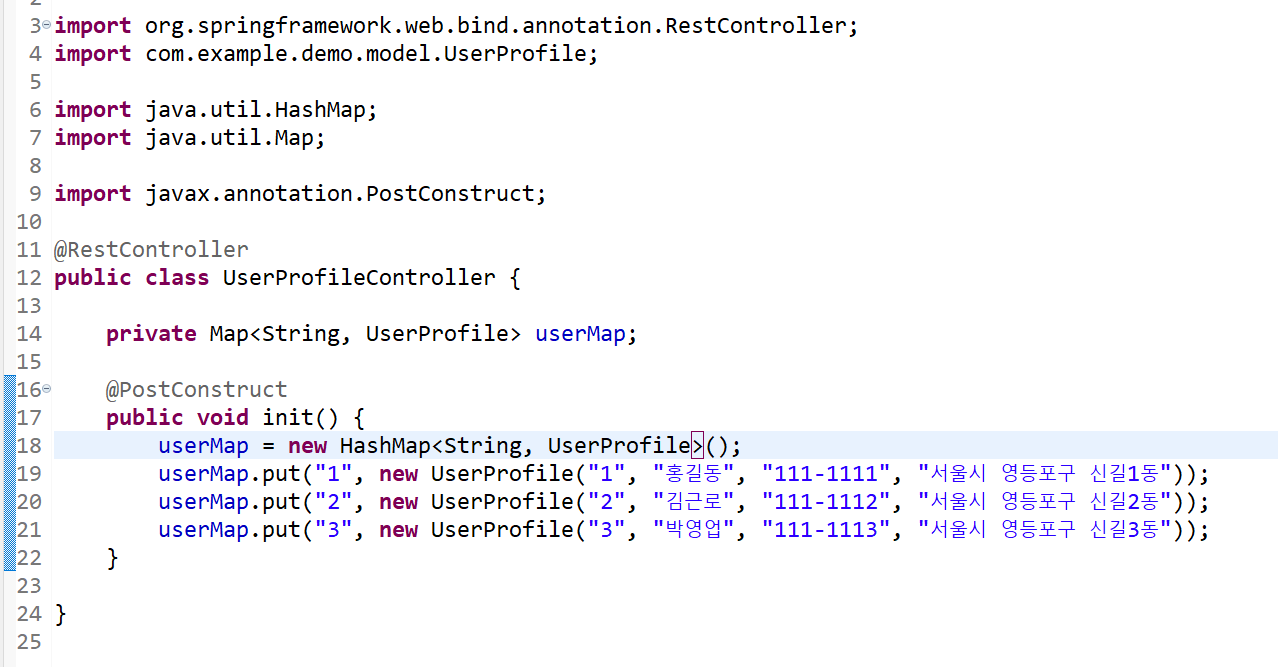
UserMap을 만들어 메모리상에서 사용자 정보를 GET, POST, PUT, DELETE 할 수 있게 세팅합니다.
package com.example.demo.controller;

import org.apache.catalina.User;
import org.springframework.web.bind.annotation.RequestParam;
import org.springframework.web.bind.annotation.RestController;
import com.example.demo.model.UserProfile;

import java.util.ArrayList;
import java.util.HashMap;
import java.util.List;
import java.util.Map;

import javax.annotation.PostConstruct;

@RestController
public class UserProfileController {

	private Map<String, UserProfile> userMap;

	@PostConstruct
	public void init() {
		userMap = new HashMap<String, UserProfile>();
		userMap.put("1", new UserProfile("1", "홍길동", "111-1111", "서울시 영등포구 신길1동"));
		userMap.put("2", new UserProfile("2", "김근로", "111-1112", "서울시 영등포구 신길2동"));
		userMap.put("3", new UserProfile("3", "박영업", "111-1113", "서울시 영등포구 신길3동"));
	}

}
아래 표와 같은 기능을 Controller에서 간단히 작성해 보려합니다.
| Resource | GET(read) | POST(create) | PUT/PACTH(update) | DELETE(delete) |
|---|---|---|---|---|
| /users | 사용자 전체 조회 | - | - | - |
| /users/{id} | {id}사용자 조회 | {id} 신규 사용자 추가 | {id} 사용자 수정 | {id} 사용자 삭제 |
GET#
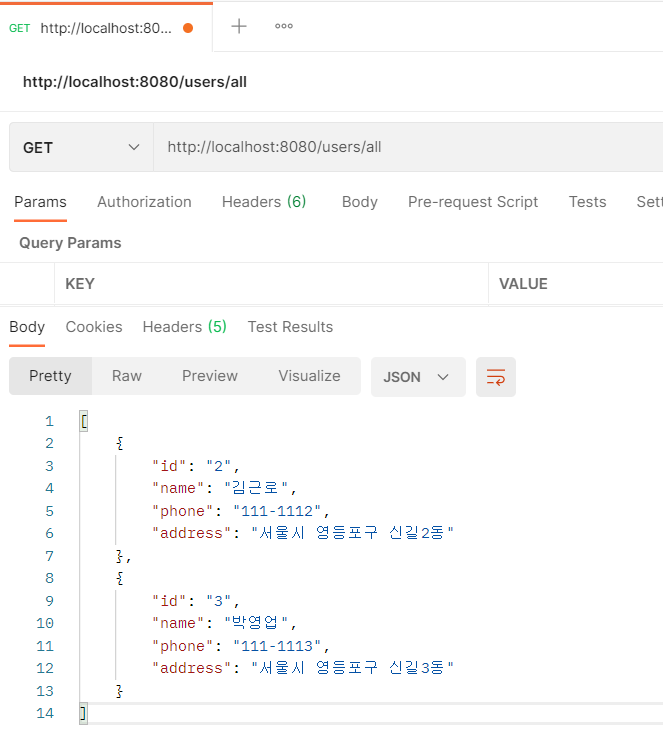
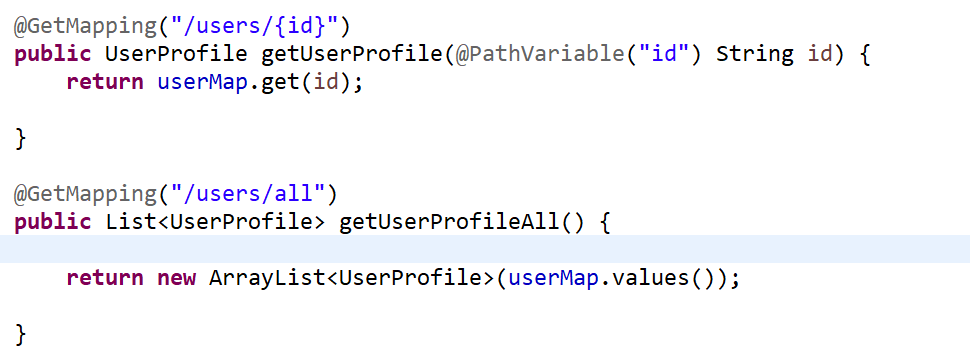
GET : /users/1 과 GET : /users/all 을 구현
- @PathVariable은 String3에서 추가된 기능으로 URL에서 {특정값}을 변수로 받아 올 수 있다.
    @GetMapping("/users/{id}")
	public UserProfile getUserProfile(@PathVariable("id") String id) {
		return userMap.get(id);

	}

	@GetMapping("/users/all")
	public List<UserProfile> getUserProfile() {

		return new ArrayList<UserProfile>(userMap.values());

	}
REST API Client Postman을 이용한 테스트 GET : http://localhost:8080/users/1
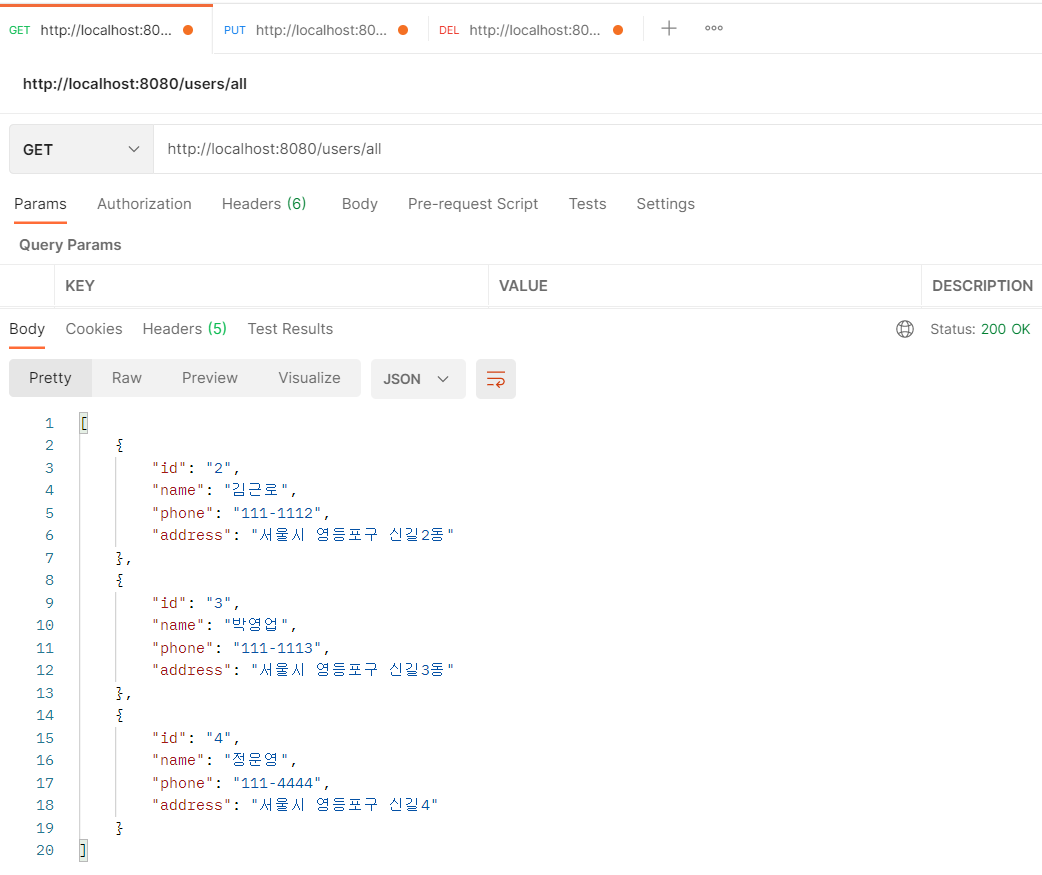
GET : http://localhost:8080/users/all
POST#
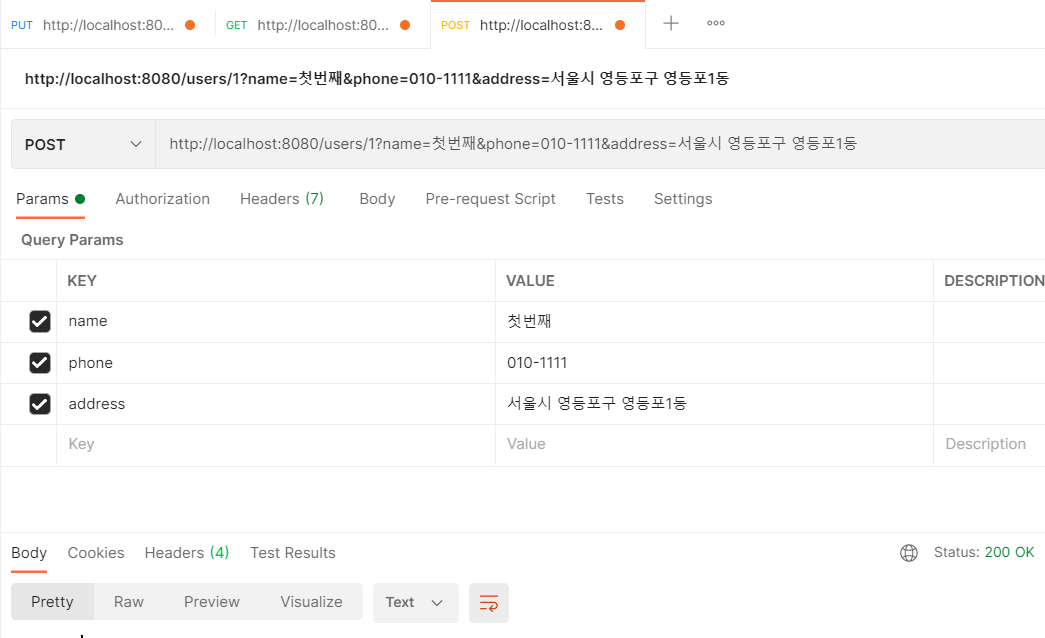
POST : /users/1?name=&phone=&address=
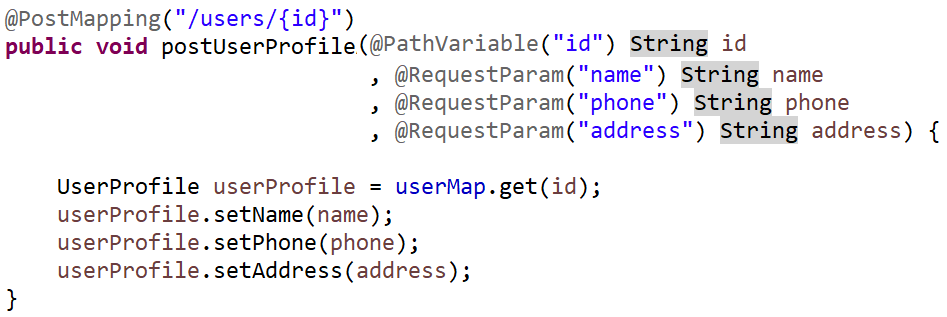
    @PostMapping("/users/{id}")
	public void postUserProfile(@PathVariable("id") String id
								, @RequestParam("name") String name
								, @RequestParam("phone") String phone
								, @RequestParam("address") String address) {

		UserProfile userProfile = new UserProfile(id,name,phone,address);
		userMap.put(id,userProfile);

	}
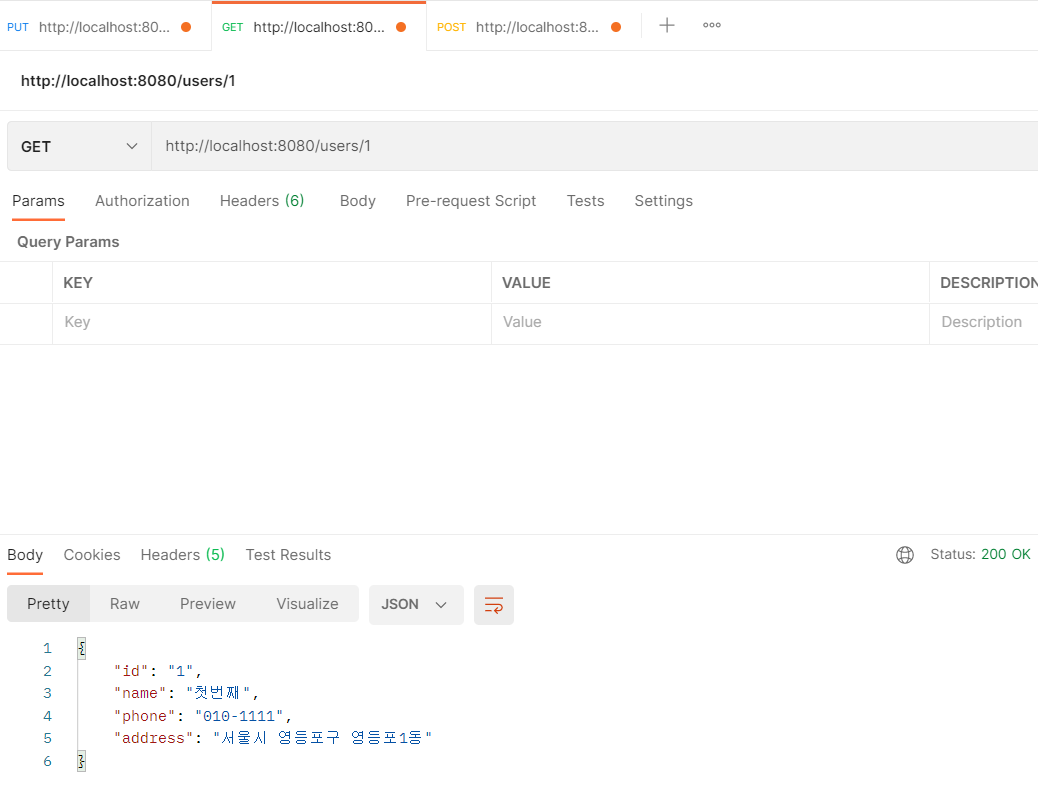
POST : http://localhost:8080/users/1?name=첫번째&phone=010-1111&address=서울시 영등포구 영등포1동
GET : http://localhost:8080/users/1
PUT#
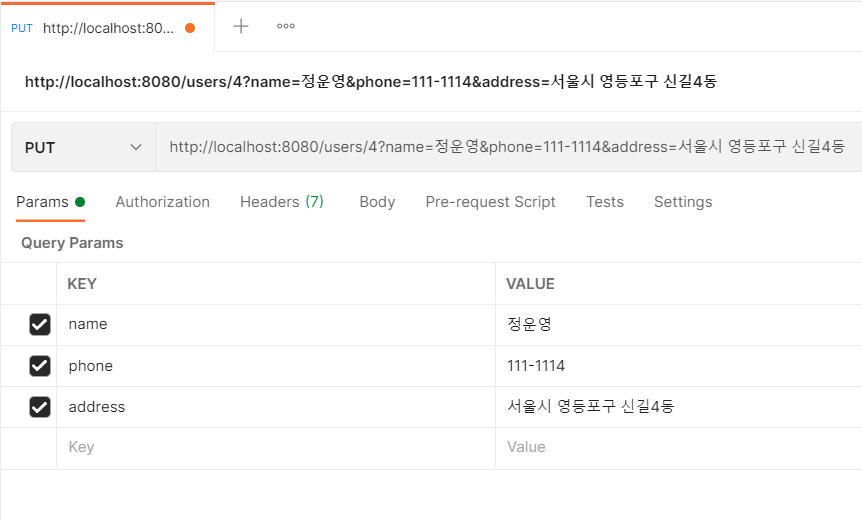
PUT : /users/1?name=&phone=&address=
- @PathVariable은 String3에서 추가된 기능으로 URL에서 {특정값}을 변수로 받아 올 수 있다.
- @RequestParam 또한 @PathVariable과 비슷하지만, request의 parameter에서 가져오는 것이다. ?name=홍길동 과 같은 쿼리스트링을 파라미터로 파싱해준다.

     @PutMapping("/users/{id}")
	public void putUserProfile(@PathVariable("id") String id
                                 , @RequestParam("name") String name
                                 , @RequestParam("phone") String phone
                                 , @RequestParam("address") String address) {

		UserProfile userProfile = userMap.get(id);
		userProfile.setName(name);
		userProfile.setPhone(phone);
		userProfile.setAddress(address);

	}
PUT : http://localhost:8080/users/4?name=정운영&phone=111-4444&address=서울시 영등포구 신길4동
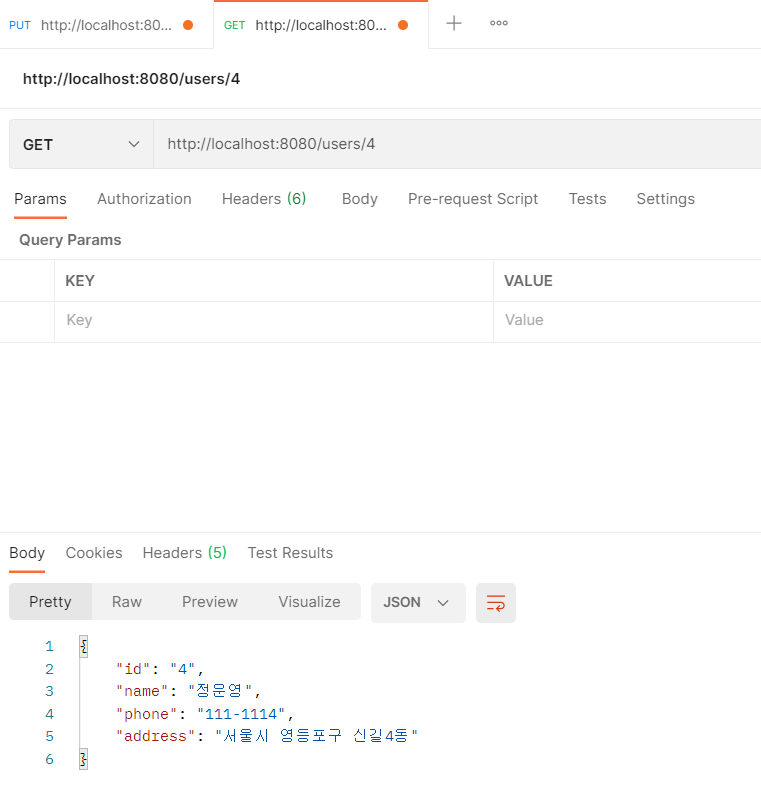
GET : http://localhost:8080/users/4
DELETE#
DELETE : /users/1

     @DeleteMapping("/users/{id}")
	public void deleteUserProfile(@PathVariable("id") String id) {

		userMap.remove(id);

	}
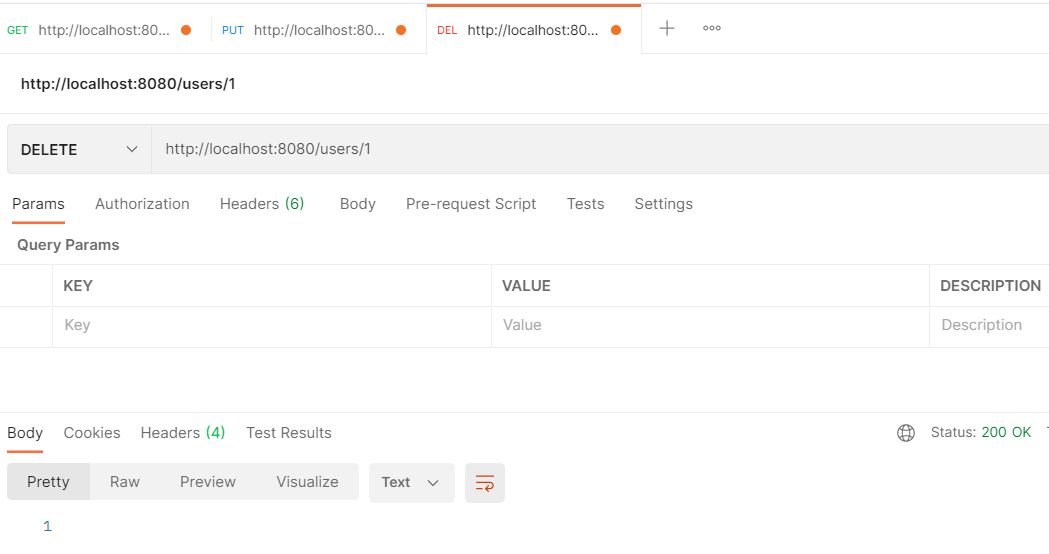
DELETE : http://localhost:8080/users/1
GET : http://localhost:8080/users/all
